
Down at the bottom in the "Dock" you will find an icon that has an apple on it. This is the System Preferences. Click it once and a window will pop up displaying all the controls of the computer (much like the control panel in Windows.)
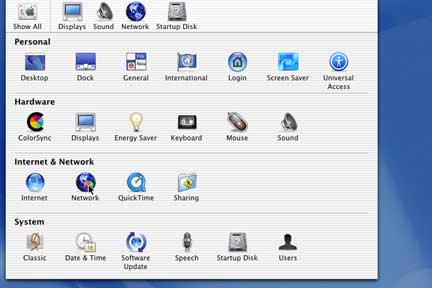
Locate the icon that says Network under Internet & Network and click it one time. This will bring up the Network Control Panel.
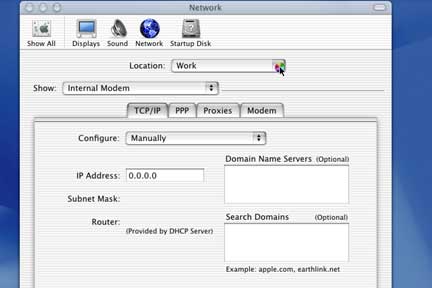
Under Location at the top, click the dropdown menu and choose new location. You can have multiple locations each with its own configuration.
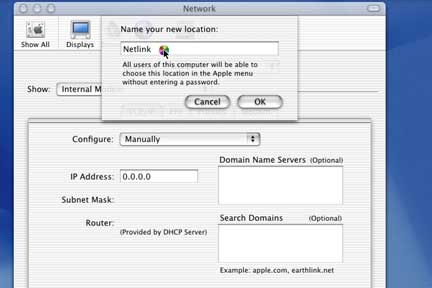
Name the location Netlink and click OK.

Where it says Show, make sure you have Internal Modem or some kind of modem unless of course you are connecting some other way.
Under Configure check "Using PPP".
Everything else should be optional on this screen.
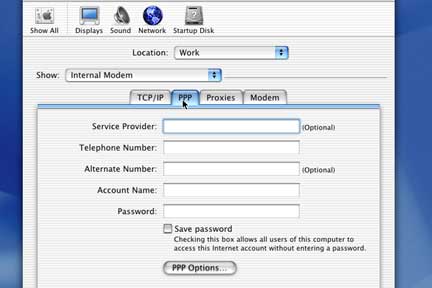
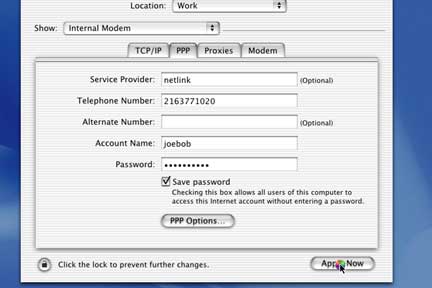
Click on the PPP tab at the top.
Fill in all the appropriate information.
Under the PPP Options there is a check box that says "Connect automaticlly when opening a TCP/IP Application" check that if you want it to connect automatically.
Make sure to click on Apply Now and then click on System Preferences up in the top Left of the screen and chose quit.

This is the equivalent of creating a shortcut on the desktop in Windows.
Double Click on the Macintosh HD icon.
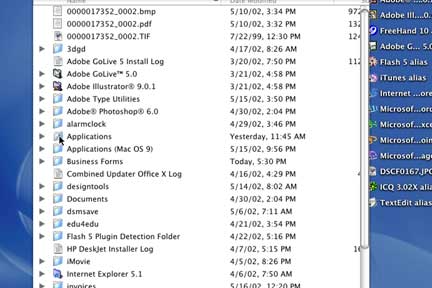
Double Click on the folder that is named Applications (not the Applications OS9 folder).
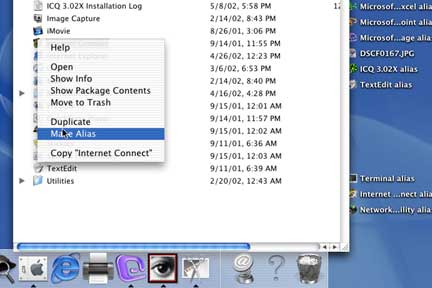
There is a program called Internet Connect in this folder. Control click (hold the control key down when clicking) on this icon and chose Make Alias. This will create a short cut and then drag it onto the desktop.
Thats it!